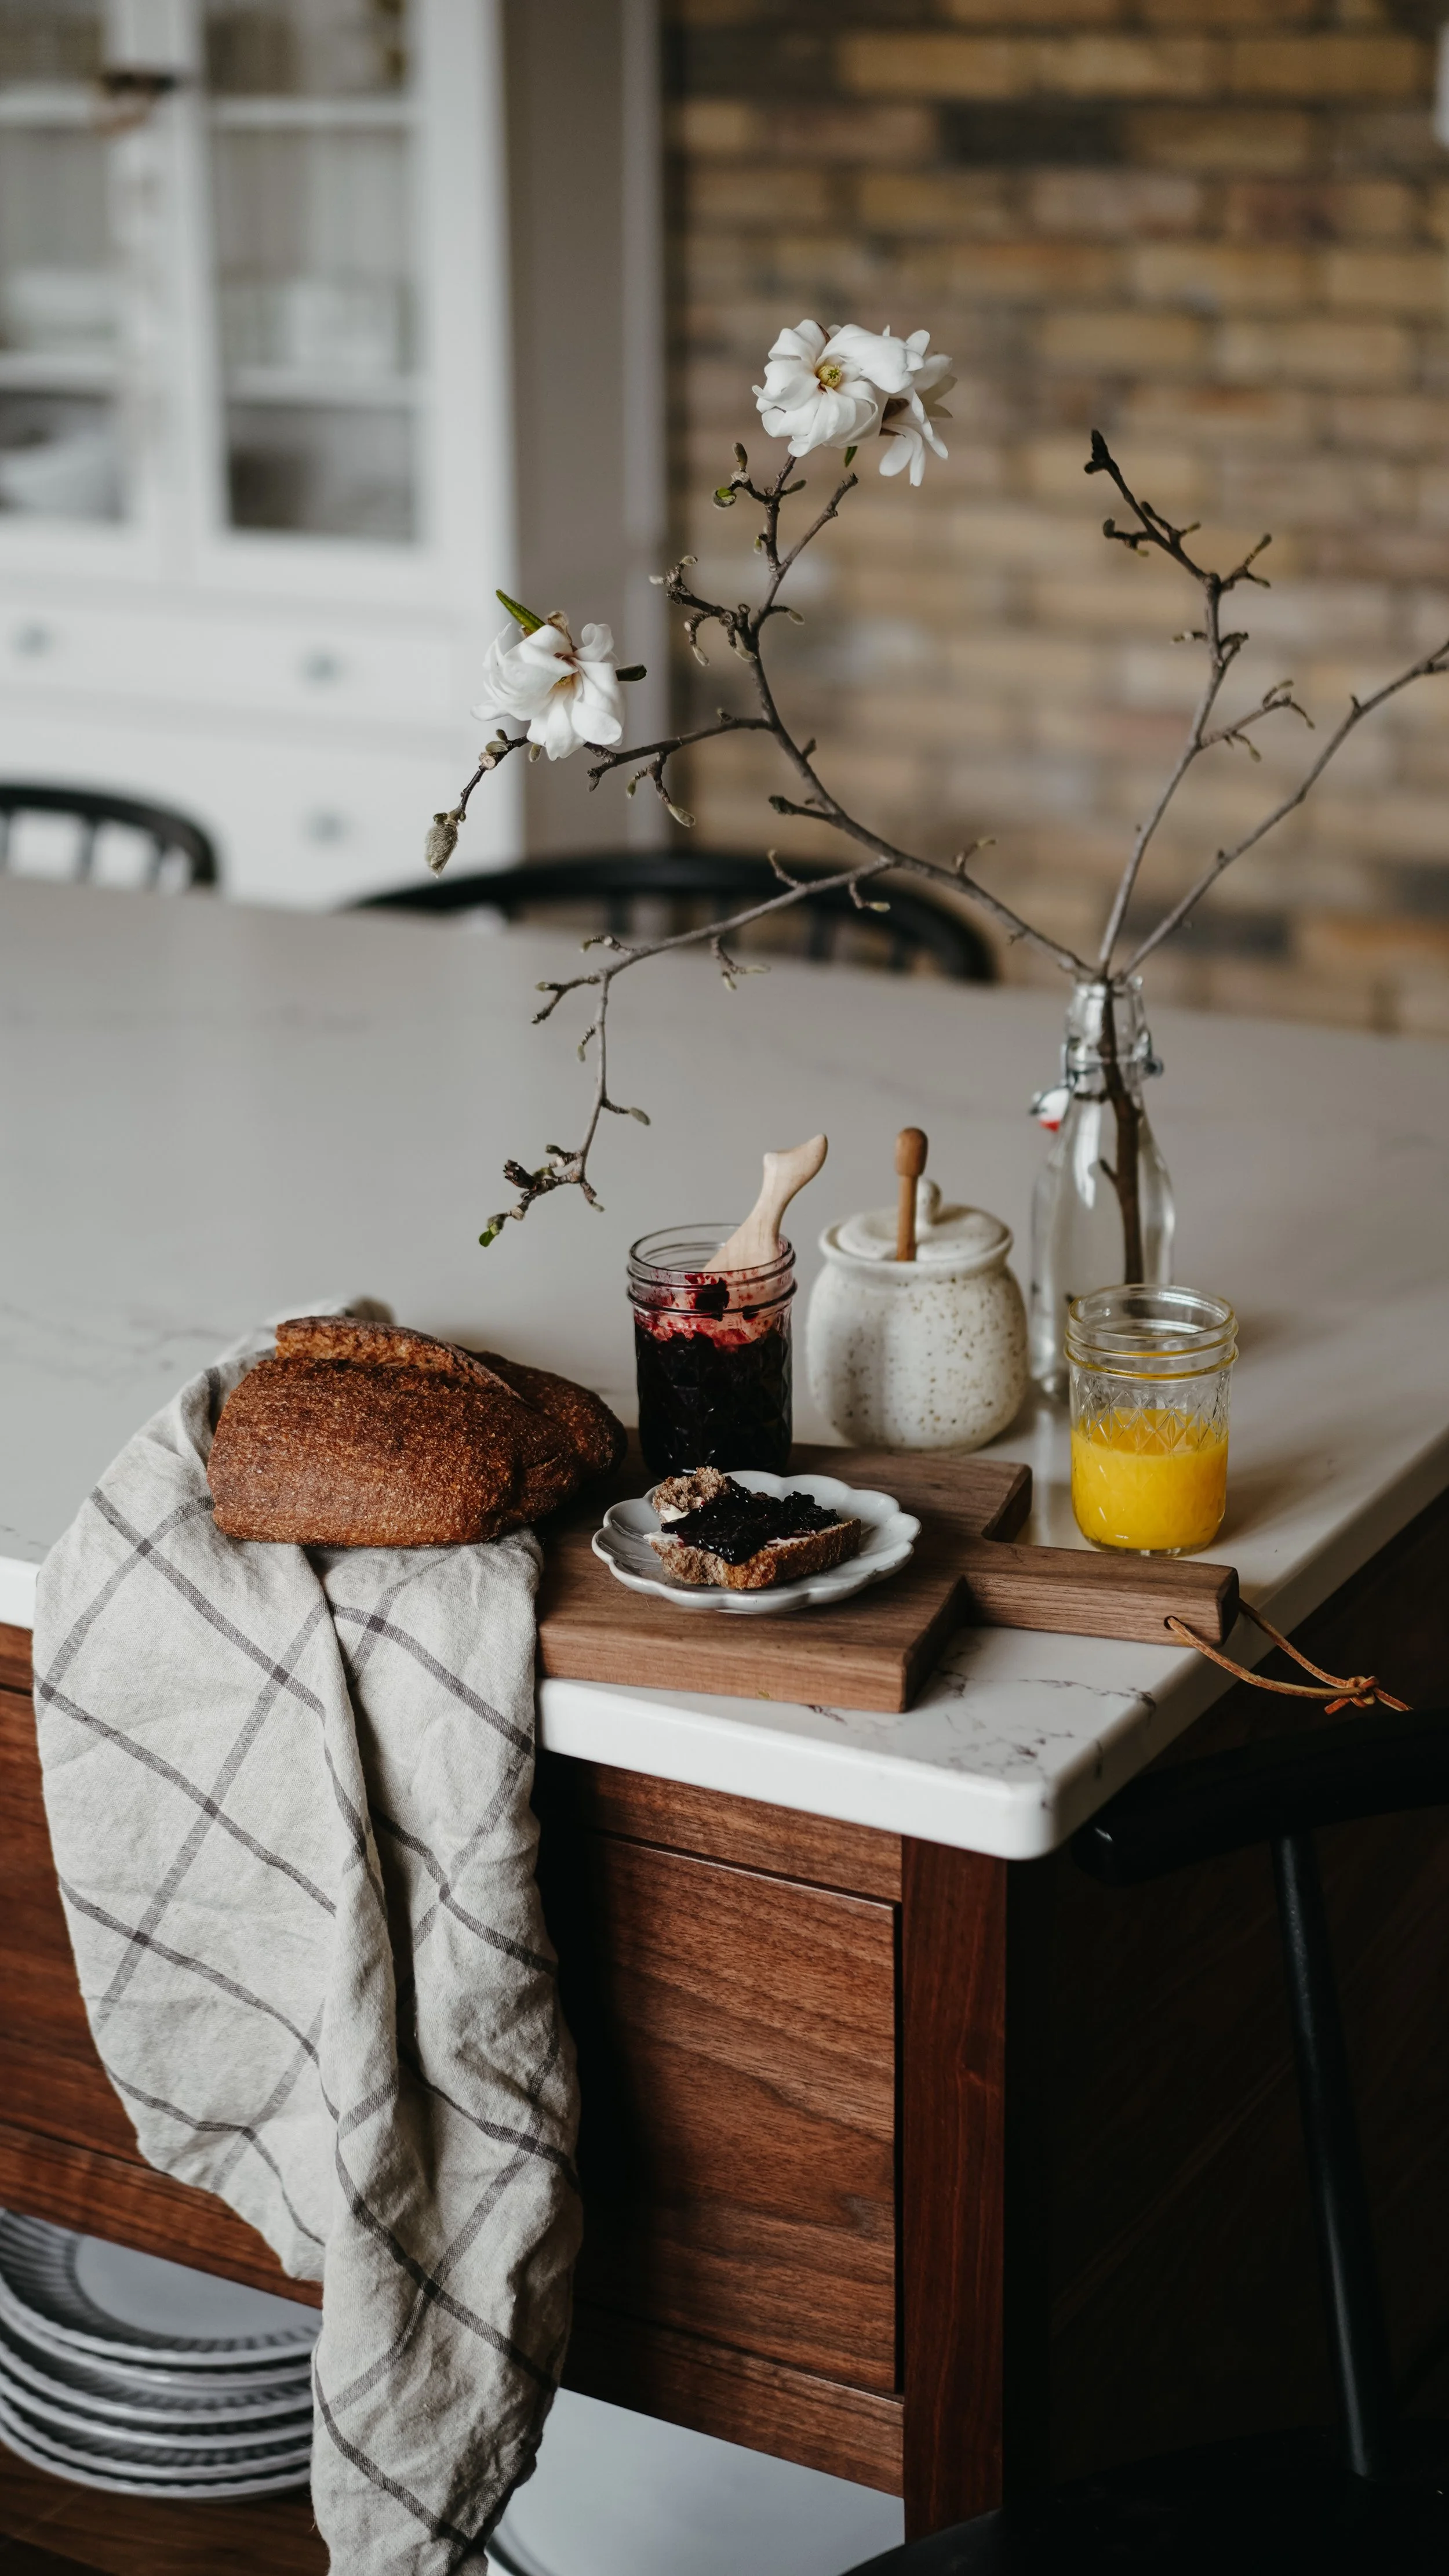
getting ready for canning season | do’s + don’ts
I was reminded of the little joys of summer canning during my hibernation, whilst reading Wintering by Katherine May. “There’s an unspoken rule to our preserving; you shouldn’t have paid for the main ingredient. It should be part of a glut, otherwise unwanted or impossible to use, or should be foraged from the wild, where it would only decay without your intervention. You don't have to look back many generations to see how this was an essential supplement to scarce fresh produce in winter months…”
While I find May’s musings about food preservation interesting, an invitation to preserve unwanted finds this season, I find no shame in putting up delicious seasonal produce purchased from a local farmer at the summer market. I think it can be easy to forget the larger ways canning and food preservation is a cornerstone of our food systems! Think of the jar of spaghetti sauce you pick up on the market shelf, all the jellies, jams, sauces, relishes all preserved with similar methods. For me home preservation and water bath canning is a skill we can bring back into our kitchens. Once learned, it can transform our relationship to food and the ways you connect to what nourishes and sustains.
With living in a rental and going through the process of building and moving into our house, I felt so ungrounded. I’m grateful to prepare and get ready for the season ahead. Appreciating the deep wintering I went through myself. A spring of preparation, laying the groundwork for a new garden, a summer of canning foraged finds from our property.
Canning the abundance of juicy, black raspberries collected with my children under a hot summer sun or a way to put up the glut of summer cucumbers grown are little joys that root into place, season, and connect us to our food in deep and meaningful ways. The jars filled on the pantry shelf are not only food stuff stored for later consumption, it is our memories preserved.
Once learned, canning can be shared with family and friends, gathering in each other's kitchens to help in the process, the act becomes a community event, a skill passed on. Before I started canning, I was so nervous, but with the right tools and a simple understanding of the process, canning is an invitation to slow down. So I hope whether you’ve never canned before or are a seasoned canner, you will join me this season to try some new recipes, share memories and reflections and stock on your pantry shelves as we fill our jars, hearts and bellies with nourishing foods that i know will become family favorites.
“Food preservation became more than a jar of pickles; it became a direct link to our matriarchal history.” ― Christina Ward
Let's start with the basics, the tools needed to begin! Note: Make sure you have your supplies and ingredients ready before you can. I cannot tell you how many times I've sent aj to the local co-op mid canning for bottled lemon juice. Now that we live out in the country and are no longer town mice, it won't be so quick and easy to run to the market, so preparation is key!
Canning Supplies
Canning jars, lids, bands
Ball canning fresh preserving kit
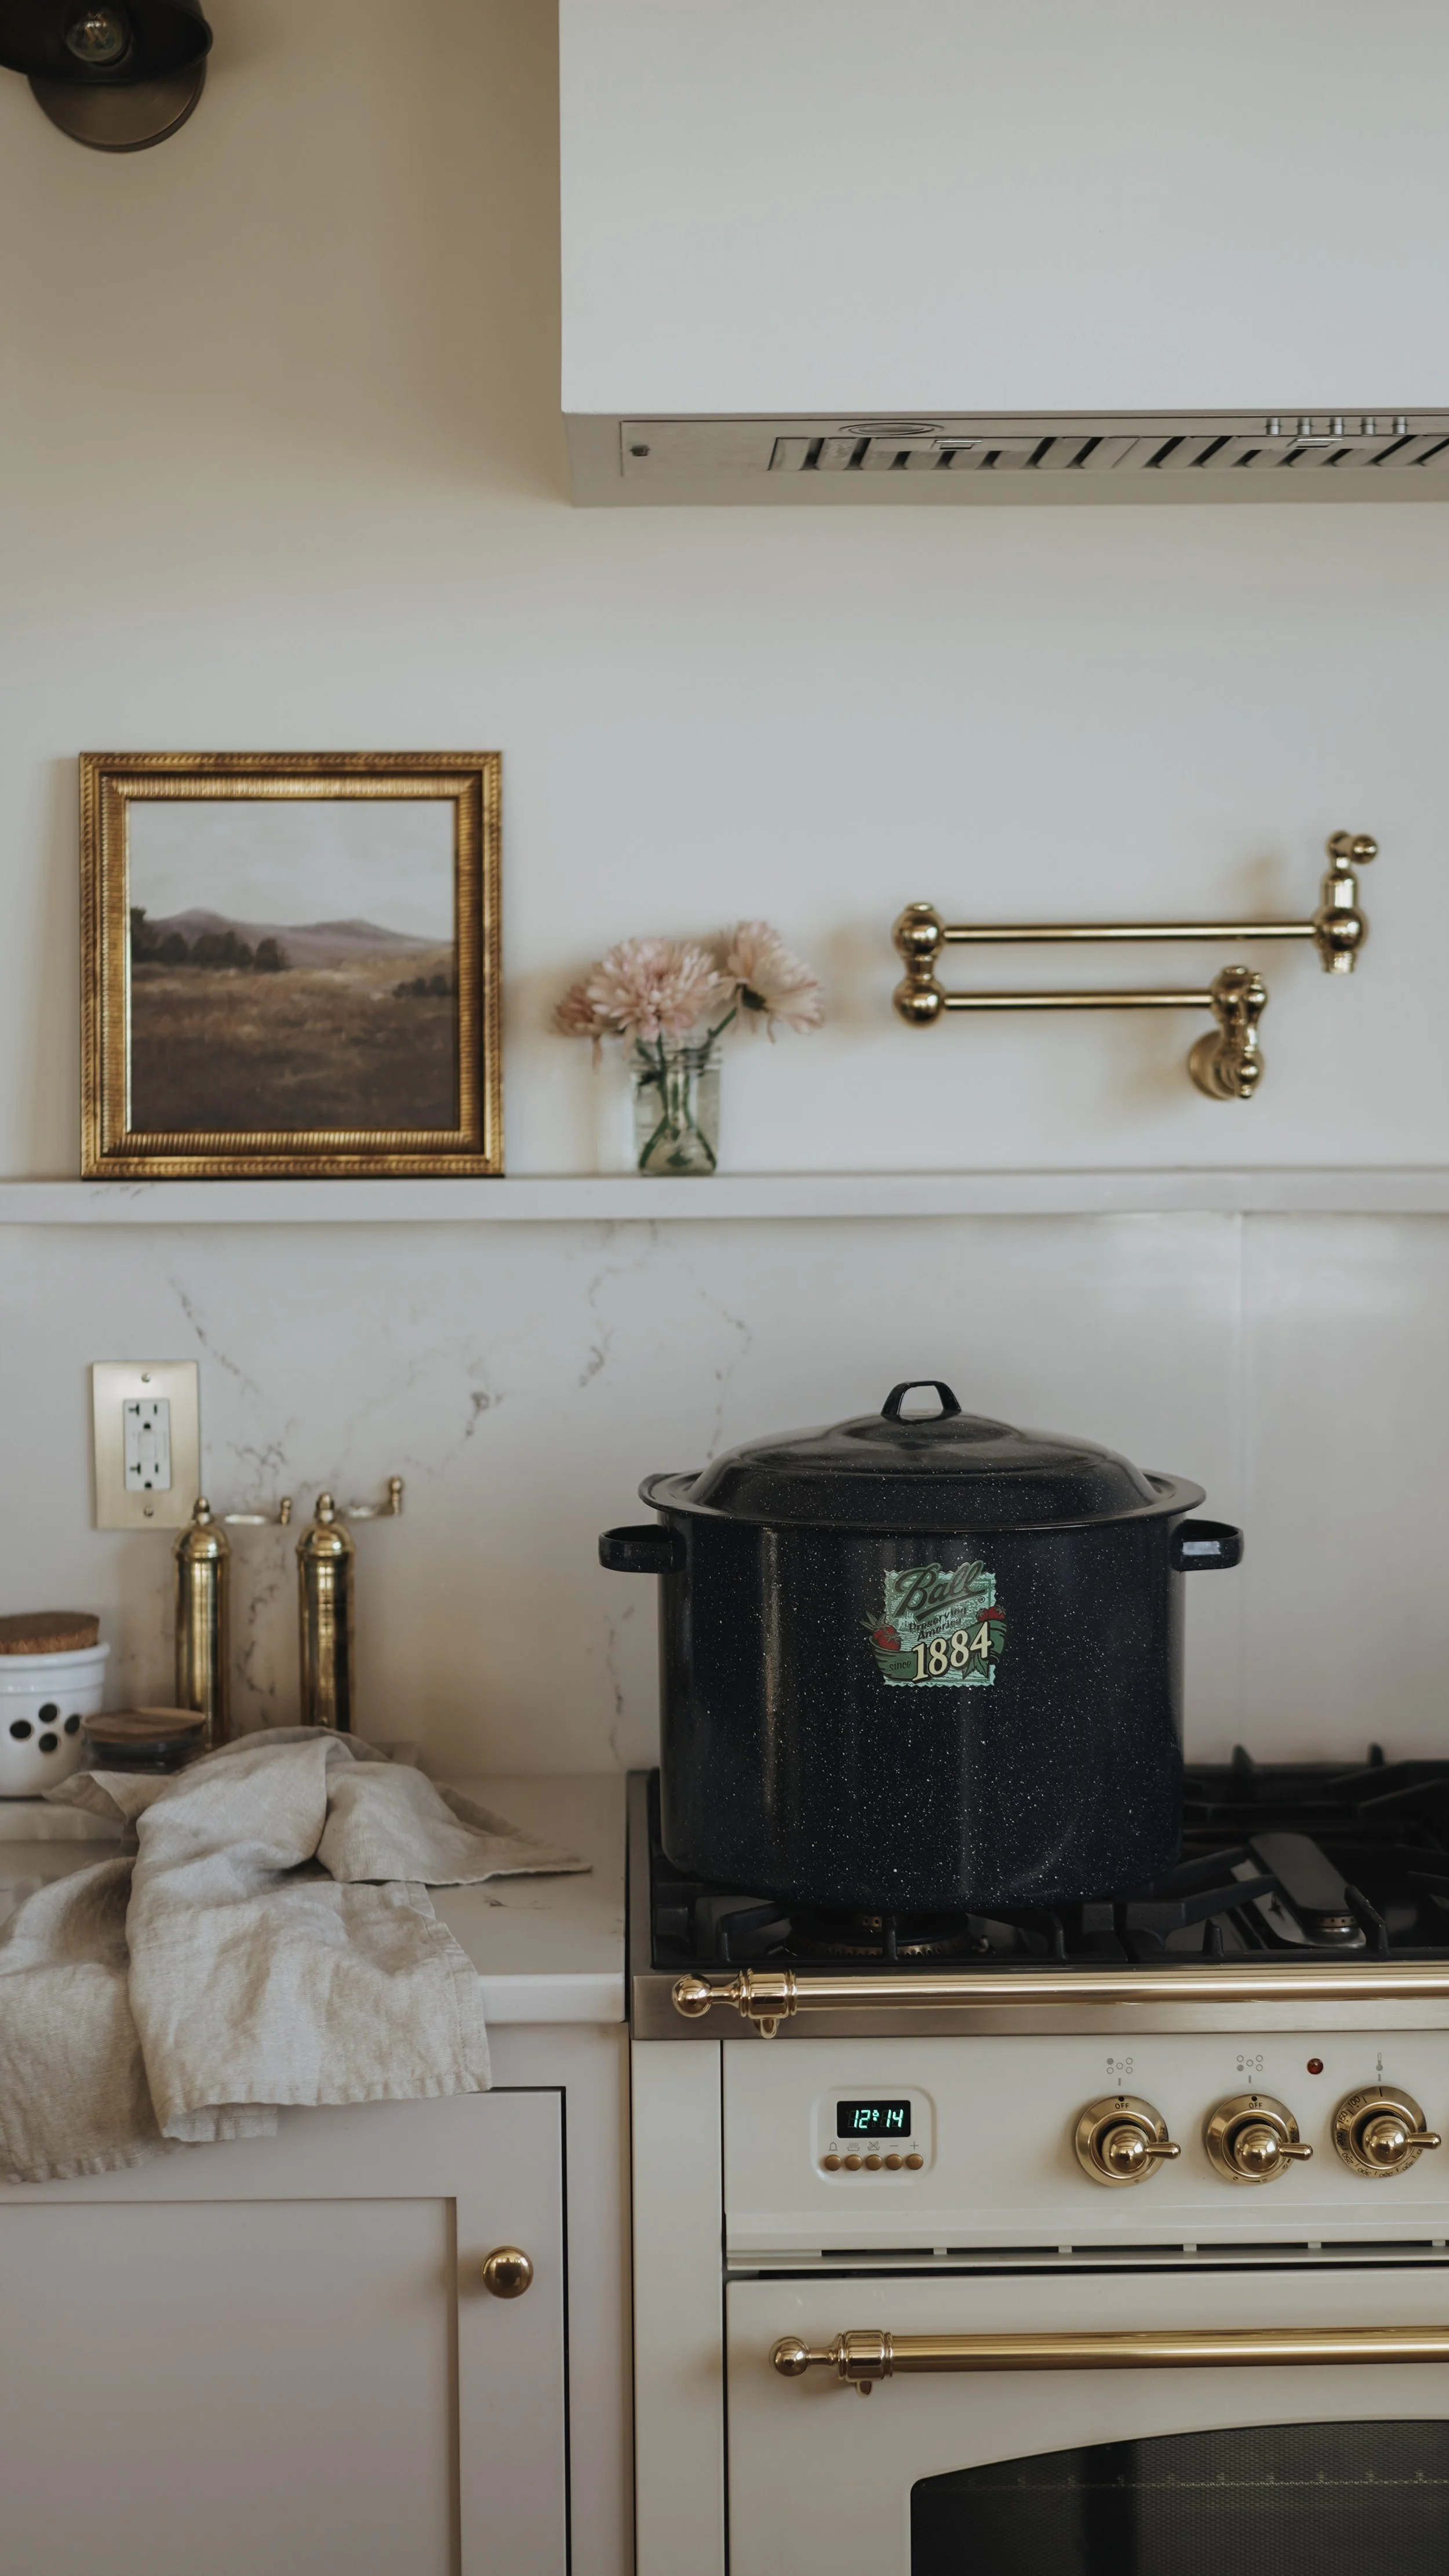
A water bath canner or a large stock pot
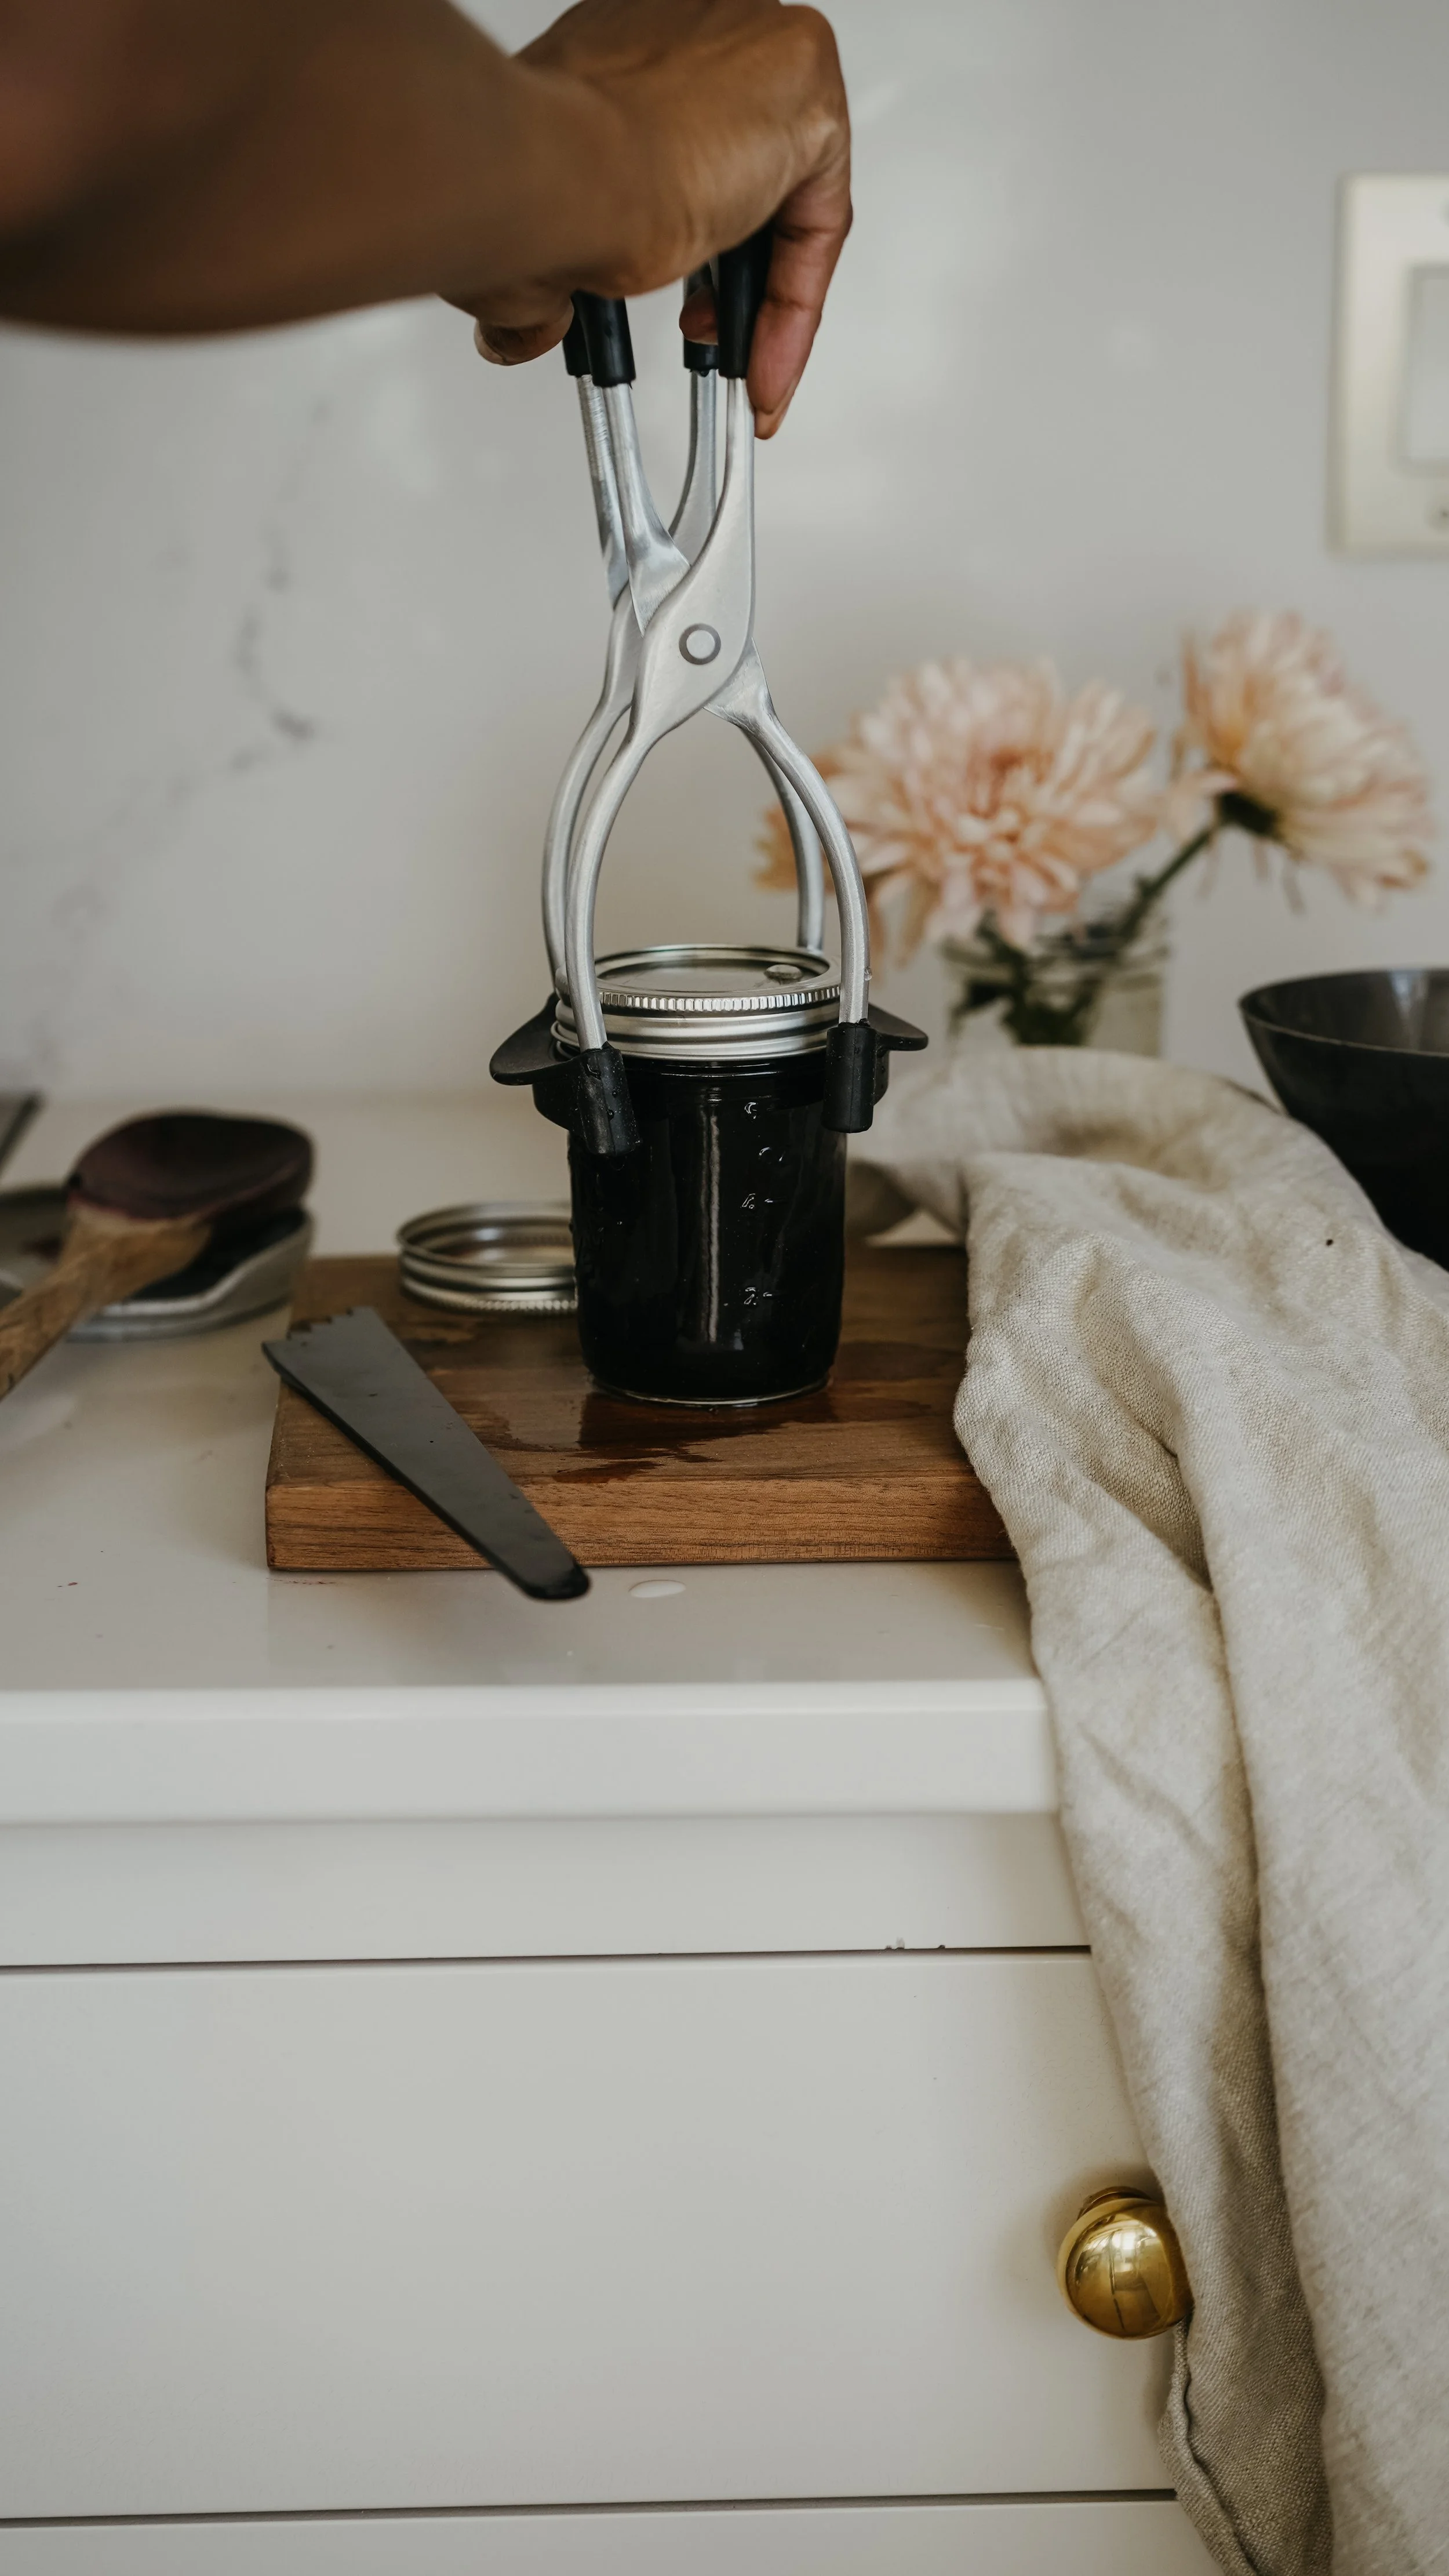
Jar lifter
Ladle
Funnel
A printed version of the recipe or Ball® Blue Book.
Ingredients
Always use the freshest produce, preserving is a way of capturing and saving the best tastes of each season. For the best flavors, use fruits and vegetables at their peak. Canning preserves fresh food using high temperatures to kill microorganisms. The heating process pushes air from the jars and creates a vacuum seal. You can use the method of water bath canning to preserve high acid foods such as fruits, pickles, tomatoes, sauerkraut, relishes, jams, jellies, salsas, marmalade and fruit butter. Canned foods should last for a year. Mold, bubbles or cloudiness are signs of spoilage.
Canning Do’s and Don'ts
Here are some of the things I've seen either on the internet, in social media shares, etc.
Do find a tested recipe.
Don’t substitute ingredients, alter recipes for your tested recipe.
Do store jars in a cool, dry place, between 50-70 degrees. Think pantry, cellar shelves.
Don't stack jars and be sure to store them upright.
Don't forget to label your jars with date prepared and the recipe name. Ingredients are a bonus if you ever want to share with friends + family.
Do fill one jar at a time and then put in the water bath canner, then begin your next. Leaving filled jars open leaves them susceptible to bacteria and the jars themselves cool down and can cause temperature shock when they are returned to the water bath.
Do make sure filled canning jars are covered by more than an inch of water before processing + keep cover on while processing filled jars.
Do sterilize and wash jars before using, keep in the hot water while making the recipe.
Do test for a seal 12-24 hours after processing
Do measure your chopped/prepared ingredients to ensure accurate yield.
Do inspect jars for cracks and lids for dents before use.
Don't reuse lids, you can reuse jars after sterilized. Used lids can be reused for storage, like spices, baking soda and powder or dried goods in the pantry.
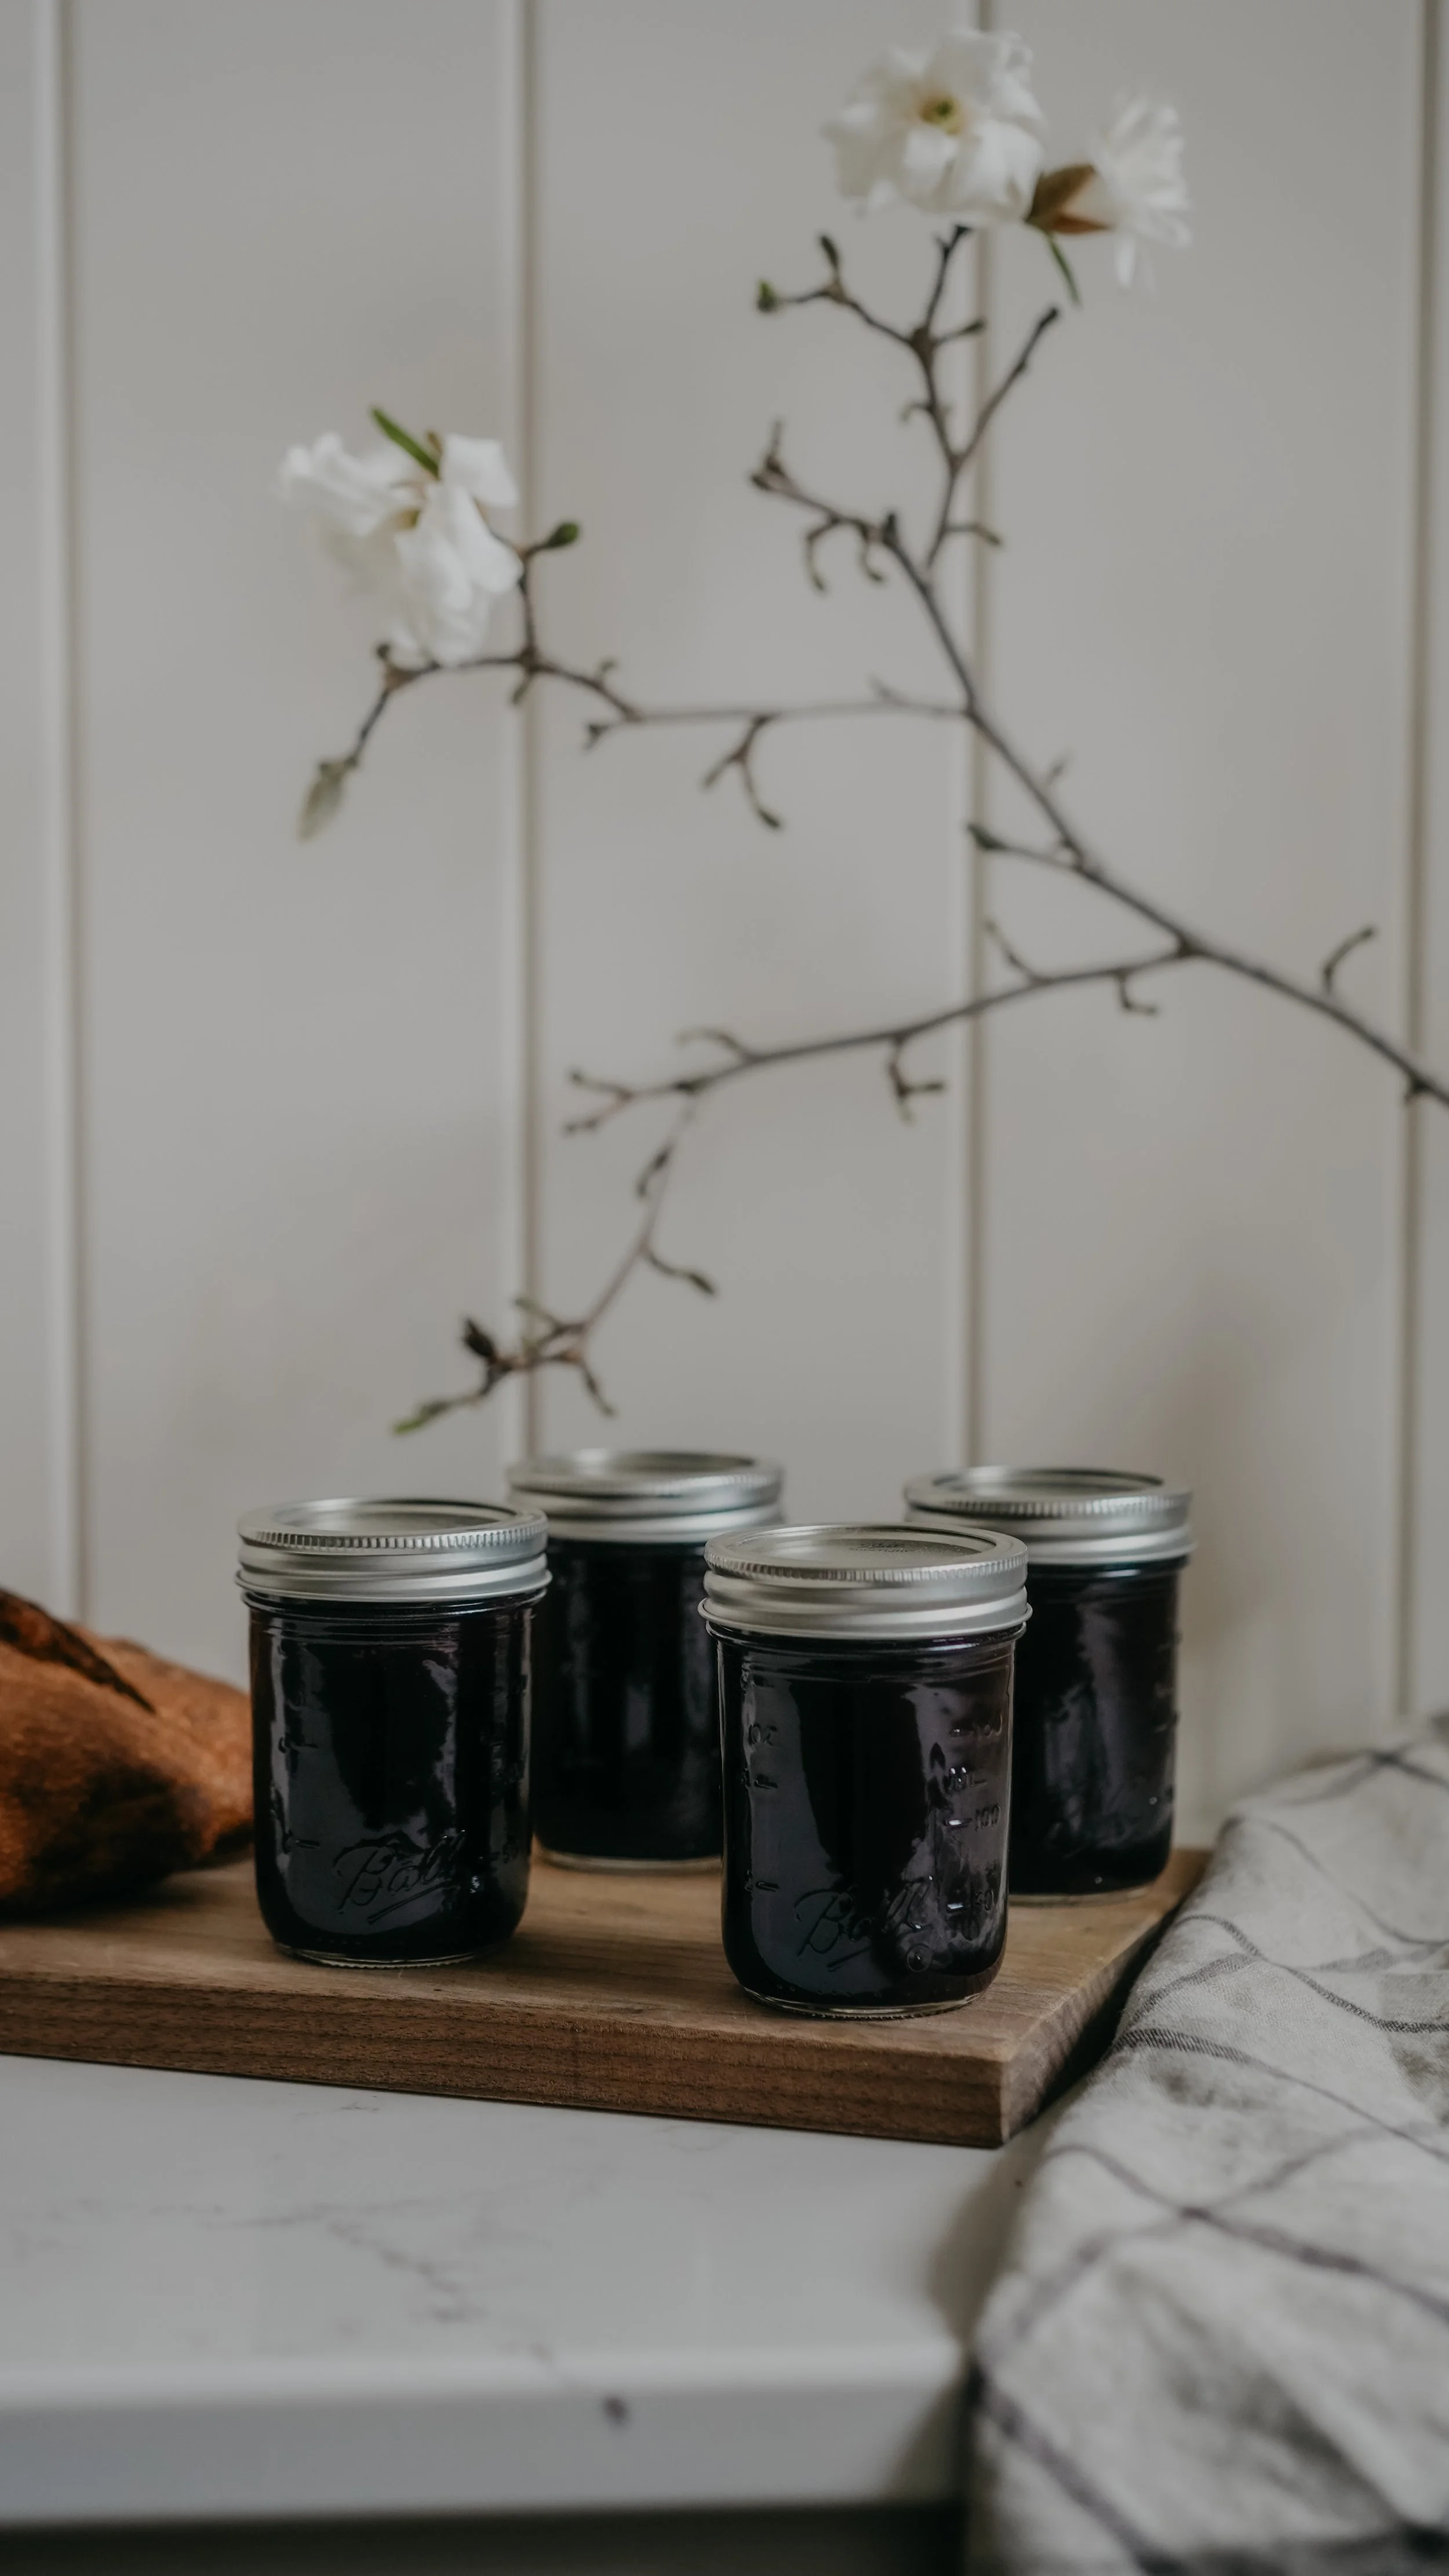
Small projects are best for first time canning. Don’t overwhelm yourself with trying to preserve all your tomatoes in summer in one go for a first time! Start with a simple recipe that produces a small batch. This cherry vanilla jam recipe is perfect, because it yields 4 (8oz) half pint jars.
Cherry Vanilla Jam Recipe
Preserving Method: Water-Bath-Canning
Makes about 4 (8 oz) half-pint jar
ingredients
4 cups finely chopped cherries, from about 2lbs pitted
1/2 cup cherry or other fruit juice
1 tbsp. bottled lemon juice
2 tbsp. vanilla extract or 1 tbsp. vanilla paste
3 tbsp. Ball® Low/ No sugar pectin
1 cup sugar or alternative sugar such as Erythritol or Swerve
directions
Prepare a boiling water bath canner. Wash jars and using a jar lifter place jars in simmering water until they are ready to use; do not boil. Wash lids in warm soapy water and set aside with bands.
Place chopped cherries, lemon juice, cherry juice, and vanilla in a saucepan. Sprinkle pectin evenly over the mixture and over high heat, bring to a full rolling boil that cannot be stirred down, stirring constantly.
Whisk in sugar or sugar alternative. Return mixture to a full rolling boil. Boil hard for 1 minute, stirring constantly. Remove from heat. Skim foam if necessary.
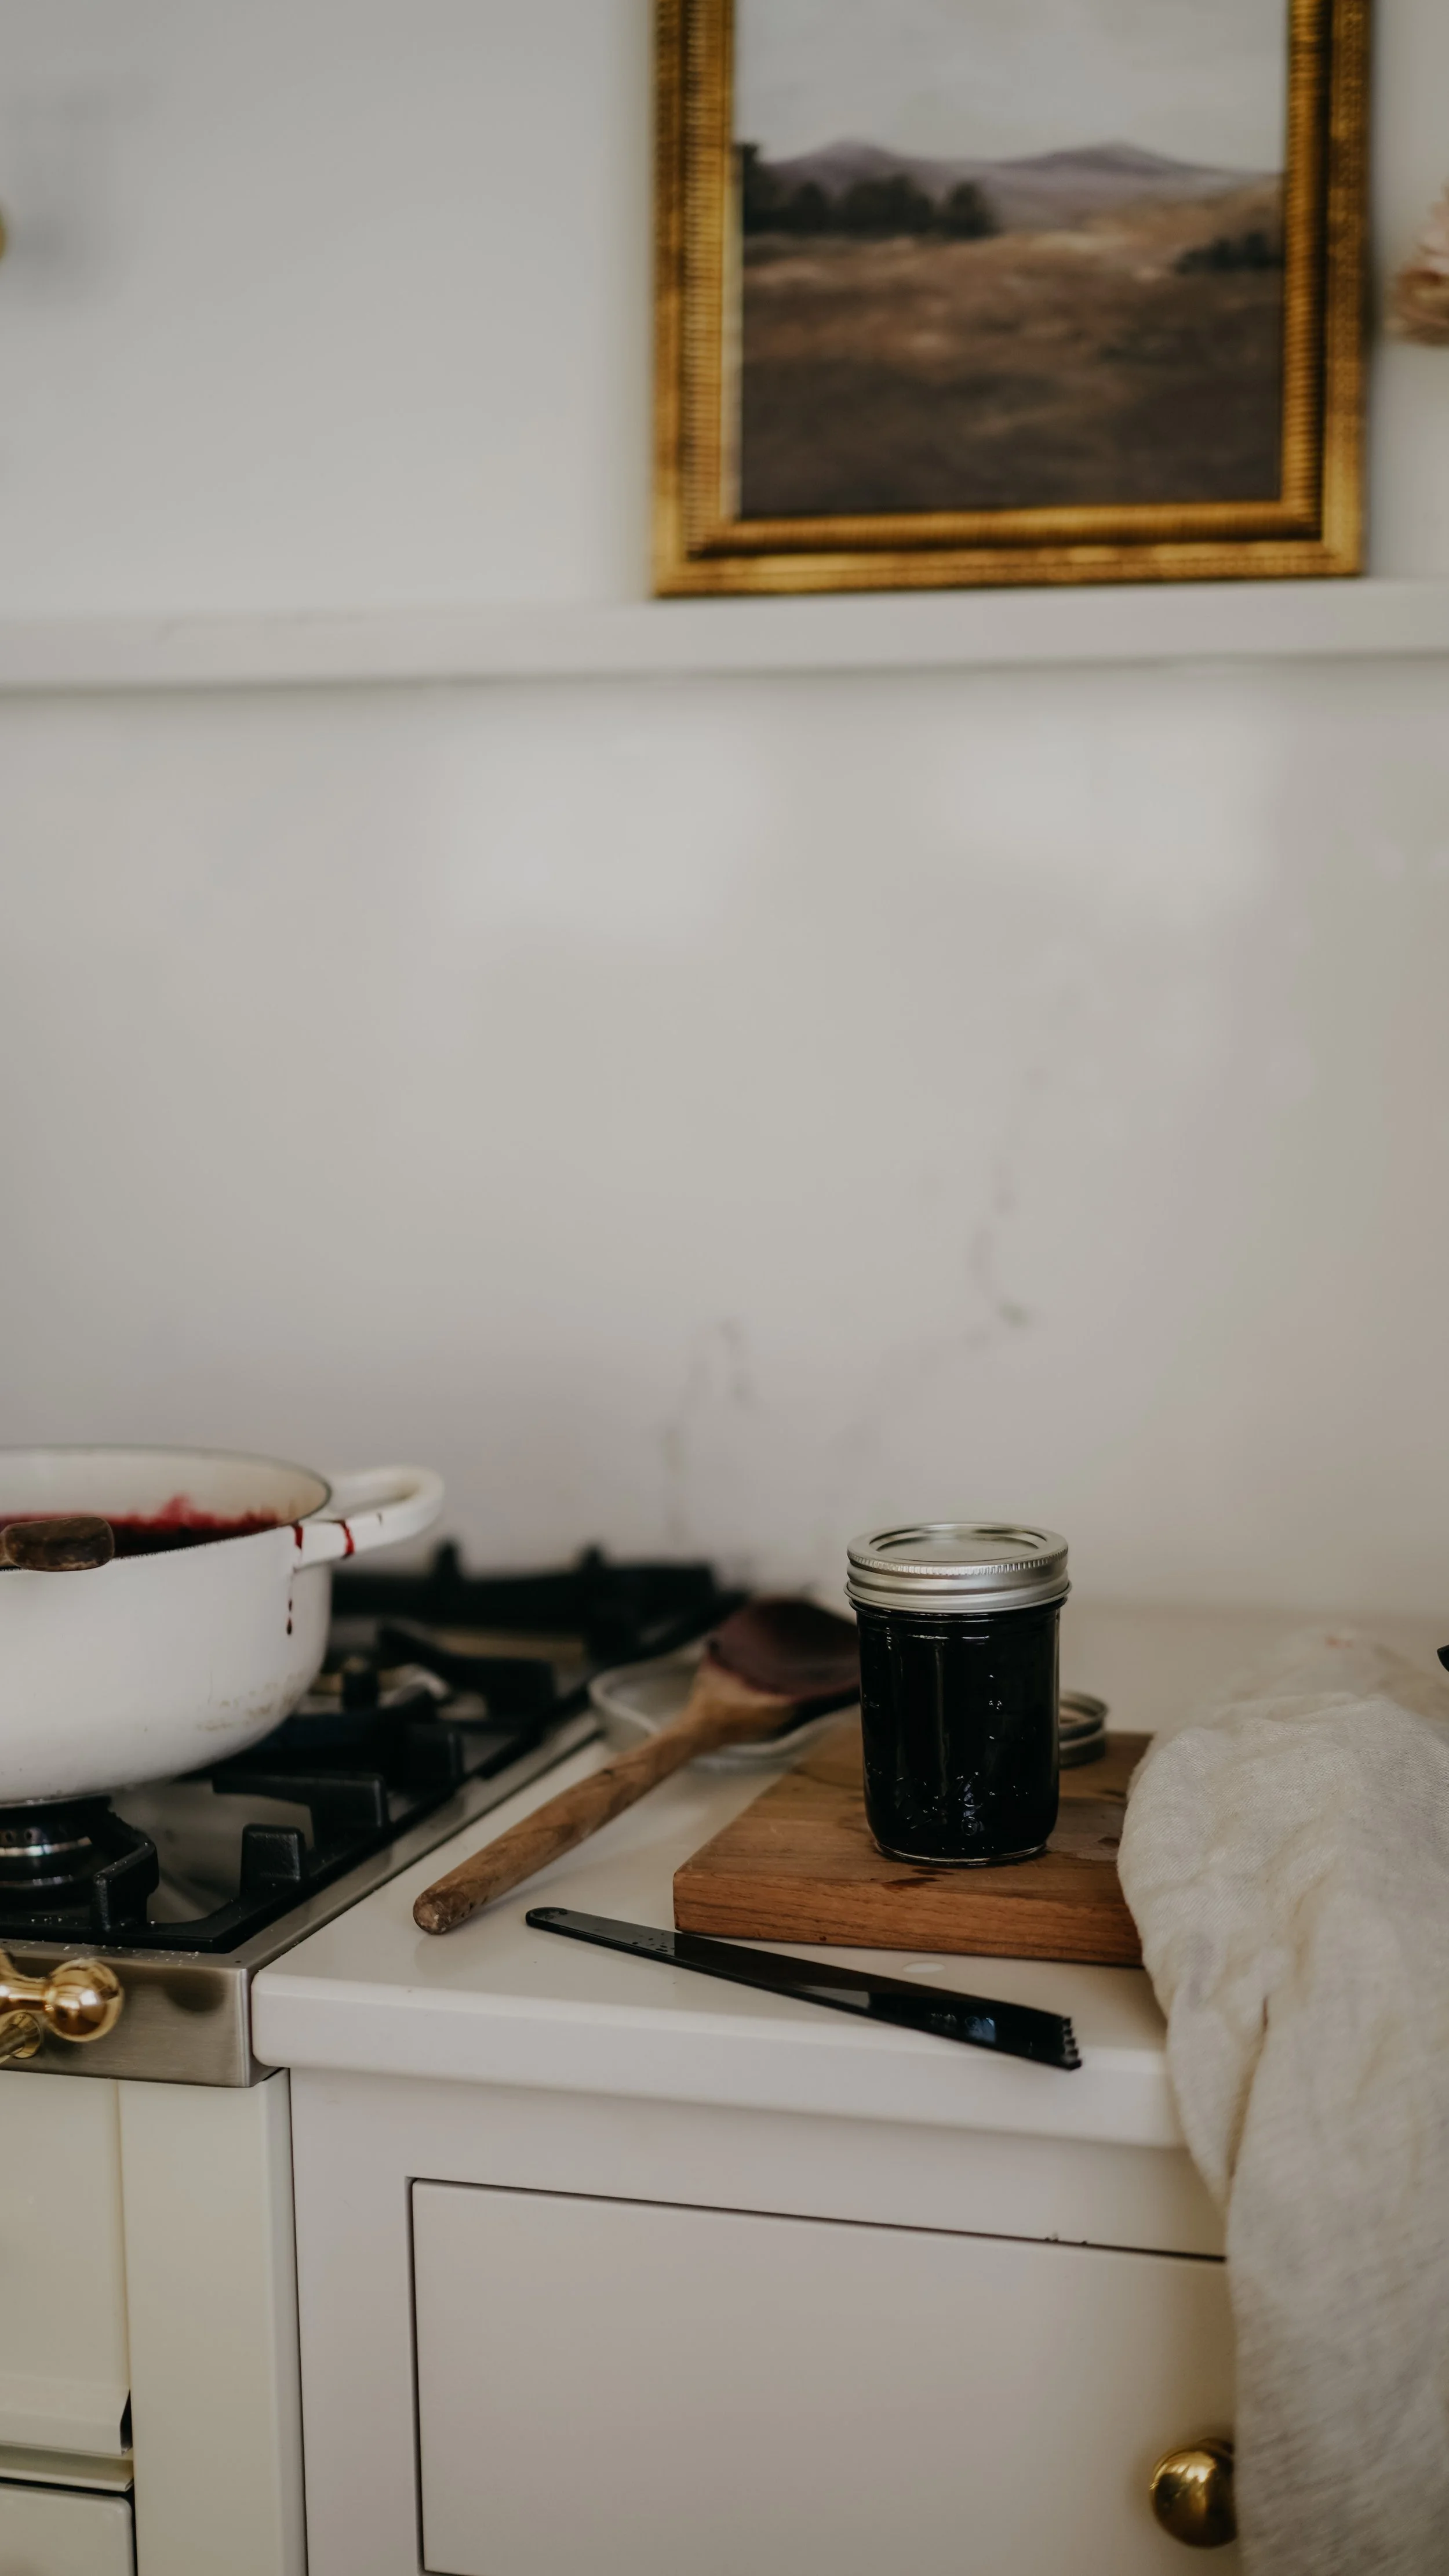
Removing one jar from the water bath canner, ladle hot jam into a hot jar leaving a ¼ inch headspace. Removing any air bubbles. With a clean cloth, wipe the jar rim. Center lid on jar and apply band, adjust to fingertip tight. With a jar lifter, place the jar back into the boiling water canner. Repeat this process until all jars are filled.
Process jars 10 minutes, adding the cover to the canner, adjust for altitude as necessary. Turn off heat, remove lid, let jars stand for 5 minutes. Remove jars, placing them on a wooden cutting board and let cool for 12-24 hours. Check lids for seal, they should not flex when center is pressed. Store in a cool place, upright.
are you preparing for canning season?

